如何使用 Jekyll 基于 Github Pages 搭建个人博客
本文目录
- 写在前面
- 1、GitHub 上的准备
- 2、了解 Ruby 和 Jekyll
- 3、了解 Gem
- 4、安装 Homebrew
- 5、用 Homebrew 安装 Ruby
- 6、安装 Jekyll 和 Bundler
- 7、使用 bundle 管理包依赖关系
- 8、本地启动一下看看
- 9、用 Jekyll 创建一个项目
- 10、修改 Gemfile 文件
- 11、配置 Github Pages
- 12、配置一个 Jekyll Theme
- 13、设置自定义域名
- 14、用 rouge 实现代码高亮
- 15、一些扩展问题
- 参考
写在前面
常见的静态网站生成器有 Jekyll、Hexo、Hugo。本文介绍如何用 Jekyll 生成静态的个人博客并关联 Github Pages,它也是 GitHub Pages 官方推荐的工具。
GitHub Pages 是 GitHub 提供的免费托管静态网站的服务。使用 GitHub Pages 搭建博客,然后使用 Jekyll 生成的静态网站文件上传到该仓库。花 10 分钟时间,通过本文让你快速地实现了一个免费、简单、快速、安全、支持版本控制、支持自定义域名的独立域名博客。这样实现的优势:
- 免费:GitHub Pages 允许用户免费使用其托管静态网站。
- 简单:Jekyll 是一个轻量级的静态网站生成器,它使用简单的 Markdown 格式写文章,不需要数据库或者后端语言的支持。
- 快速:由于 Jekyll 生成的网站是静态的,所以可以通过 CDN 加速访问速度。
- 安全:由于 Jekyll 生成的网站是静态的,所以不存在脚本攻击、SQL 注入等安全问题。
- 版本控制:GitHub 提供了强大的版本控制功能,你可以使用 Git 记录每一次修改,方便查看和回滚。
- 自定义域名:你可以在仓库的设置页面中自定义域名,让你的博客更专业和个性化。
使用 Jekyll 和 GitHub Pages 搭建博客,你可以快速、简单、免费地拥有一个个人博客,并且可以享受到较高的安全性、版本控制和自定义域名的优势。
本文涉及到 macOS 命令行的一点点基础,以及 git 版本控制软件、Web 前端的一点点基础,但是船长会尽量浅显地写在本文,避免太多其他依赖。
1、GitHub 上的准备
在 Github 上创建一个新的仓库,命名为「账户名.github.io」。然后将仓库拉取到本地:
$ git clone https://github.com/username/username.github.io
创建一些 web 文件后再推到 Github 上就可以了:
$ git add --all
$ git commit -m "Initial commit"
$ git push -u origin main
2、了解 Ruby 和 Jekyll
Ruby 目前业界的主要应用都在 Web 开发领域,有不少框架,比如 Ruby on Rails、Sinatra、Padrino. 我们这里要用到的 Jekyll 是用 Ruby 实现的一个构建静态网站的工具,用 HTML 和 Markdown 作为源码,再通过布局和模板生成网页文件。
Jekyll 特别适合构建博客,支持标签、分类、搜索,并支持自定义模板和布局。
3、了解 Gem
Gem 是 Ruby 常用的一个管理库的工具,类似于 Pip 是 Python 常用的一个管理库的工具。
为 Gem 配置国内的源,这样访问速度更快:
gem sources --add https://mirrors.tuna.tsinghua.edu.cn/rubygems/ --remove https://rubygems.org/
gem sources -l
4、安装 Homebrew
Homebrew 是一个专门为 macOS 设计的开源软件包管理工具,熟悉 Linux 的朋友可以把 Homebrew 理解成 macOS 的 apt-get。先安装 Homebrew:
$ /bin/bash -c "$(curl -fsSL https://raw.githubusercontent.com/Homebrew/install/HEAD/install.sh)"
为了让 Homebrew 在国内安装快一些,可以替换下镜像源:
mikecaptain@CVN % echo 'export HOMEBREW_BOTTLE_DOMAIN=https://mirrors.aliyun.com/homebrew/homebrew-bottles' >> ~/.bash_profile
以上用的是阿里云的源,也可以用网易的源:
mikecaptain@CVN % echo 'export HOMEBREW_BOTTLE_DOMAIN=http://mirrors.163.com/homebrew/bottles' >> ~/.bash_profile
Homebrew 安装、卸载软件的命令都很简单,例如 brew install wget 和 brew uninstall wget。
5、用 Homebrew 安装 Ruby
用 Homebrew 安装 chruby 和 ruby-install
mikecaptain@CVN % brew install chruby ruby-install xz
安装 Ruby 的最新版本:
mikecaptain@CVN % ruby-install ruby
这时候提示如下问题:
>>> Updating ruby versions ...
!!! Failed to download https://raw.githubusercontent.com/postmodern/ruby-versions/master/ruby/versions.txt \
to /Users/captain/.cache/ruby-install/ruby/versions.txt!
!!! Failed to download ruby versions!
因为 raw.githubusercontent.com 在国内是被 blocked,所以用 https://www.ipaddress.com 查一下 IP 地址,然后修改下 /etc/hosts:
mikecaptain@CVN % echo "185.199.111.133 raw.githubusercontent.com" >> /etc/hosts
然后再运行 ruby-install ruby 就可以正常安装了,这个过程会非常的慢,安装完成后,配置 zsh 脚本的 .zshrc 文件以便后续可以使用 chruby:
mikecaptain@CVN % echo "source $(brew --prefix)/opt/chruby/share/chruby/chruby.sh" >> ~/.zshrc
mikecaptain@CVN % echo "source $(brew --prefix)/opt/chruby/share/chruby/auto.sh" >> ~/.zshrc
mikecaptain@CVN % echo "chruby ruby-3.1.2" >> ~/.zshrc # run 'chruby' to see actual version
再看下 Ruby 版本对不对:
mikecaptain@CVN % ruby -v
Jekyll 官网要求 Ruby 版本大于 3.1.2p20.
6、安装 Jekyll 和 Bundler
mikecaptain@CVN % gem install jekyll bundler
上面顺便安装了 Bundler,Bundler 是 Ruby 常用的管理项目依赖关系的工具,类似于 virtualenv 之于 Python,可以简化项目的包依赖管理,帮你维护一份 Gemfile 文件,里面包含了所有依赖关系。这个工具的名字叫 Bundler,使用的时候都是用这个词的动词 bundle 命令。
7、使用 bundle 管理包依赖关系
创建 Gemfile 文件,Gemfile 是 Ruby 项目的依赖包管理文件:
source 'https://rubygems.org'
gem 'nokogiri'
gem 'rack', '~> 2.2.4'
gem 'rspec'
gem 'jekyll'
然后安装依赖包,这里默认会根据运行命令时所在的目录的 Gemfile 来安装:
mikecaptain@CVN % bundle install
Gemfile.lock 是 Gemfile 的锁定版本,记录了当前项目所使用的所有依赖包的版本信息。下面把这两个文件都加入到 Git 版本控制中。
mikecaptain@CVN % git add Gemfile Gemfile.lock
8、本地启动一下看看
先用 bundle 如下命令来启动:
mikecaptain@CVN % bundle exec jekyll serve
启动日志如下:
Configuration file: none
            Source: /Users/captain/Workspace/poechant.github.io
       Destination: /Users/captain/Workspace/poechant.github.io/_site
 Incremental build: disabled. Enable with --incremental
      Generating...
                    done in 0.014 seconds.
 Auto-regeneration: enabled for '/Users/captain/Workspace/poechant.github.io'
    Server address: http://127.0.0.1:4000
  Server running... press ctrl-c to stop.
然后打开浏览器输入 http://localhost:4000 看看效果:
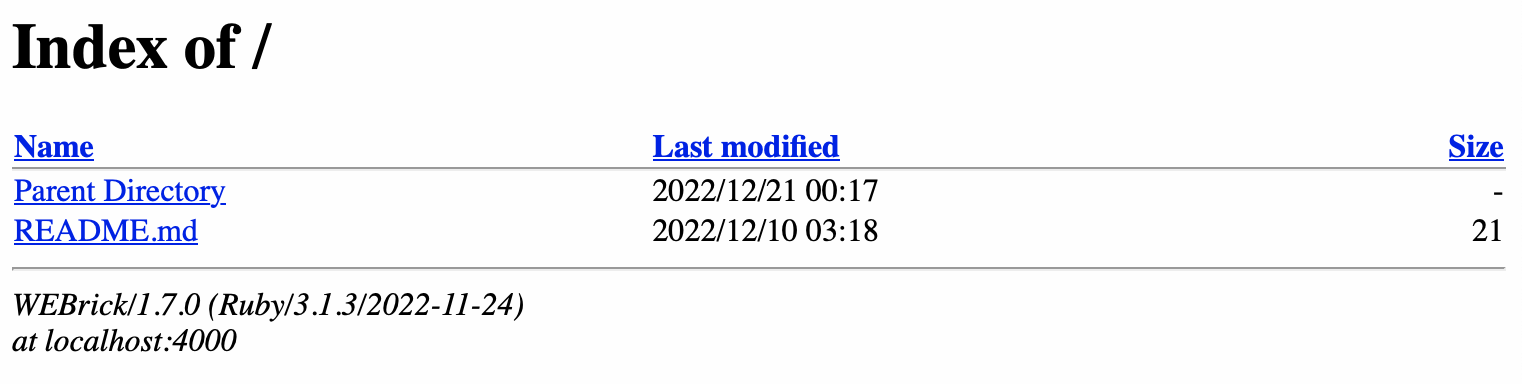
这就说明 Jekyll 本地配置已经成功了。然后把当前的版本同步到 Git 上:
mikecaptain@CVN % git pull --no-rebase
mikecaptain@CVN % git push -u origin main
9、用 Jekyll 创建一个项目
mikecaptain@CVN % jekyll new CaptainMikeBlog
mikecaptain@CVN % cd CaptainMikeBlog
mikecaptain@CVN % jekyll server
启动日志如下:
Configuration file: /Users/captain/Workspace/poechant.github.io/CaptainMikeBlog/_config.yml
            Source: /Users/captain/Workspace/poechant.github.io/CaptainMikeBlog
       Destination: /Users/captain/Workspace/poechant.github.io/CaptainMikeBlog/_site
 Incremental build: disabled. Enable with --incremental
      Generating...
       Jekyll Feed: Generating feed for posts
                    done in 0.365 seconds.
 Auto-regeneration: enabled for '/Users/captain/Workspace/poechant.github.io/CaptainMikeBlog'
    Server address: http://127.0.0.1:4000/
  Server running... press ctrl-c to stop.
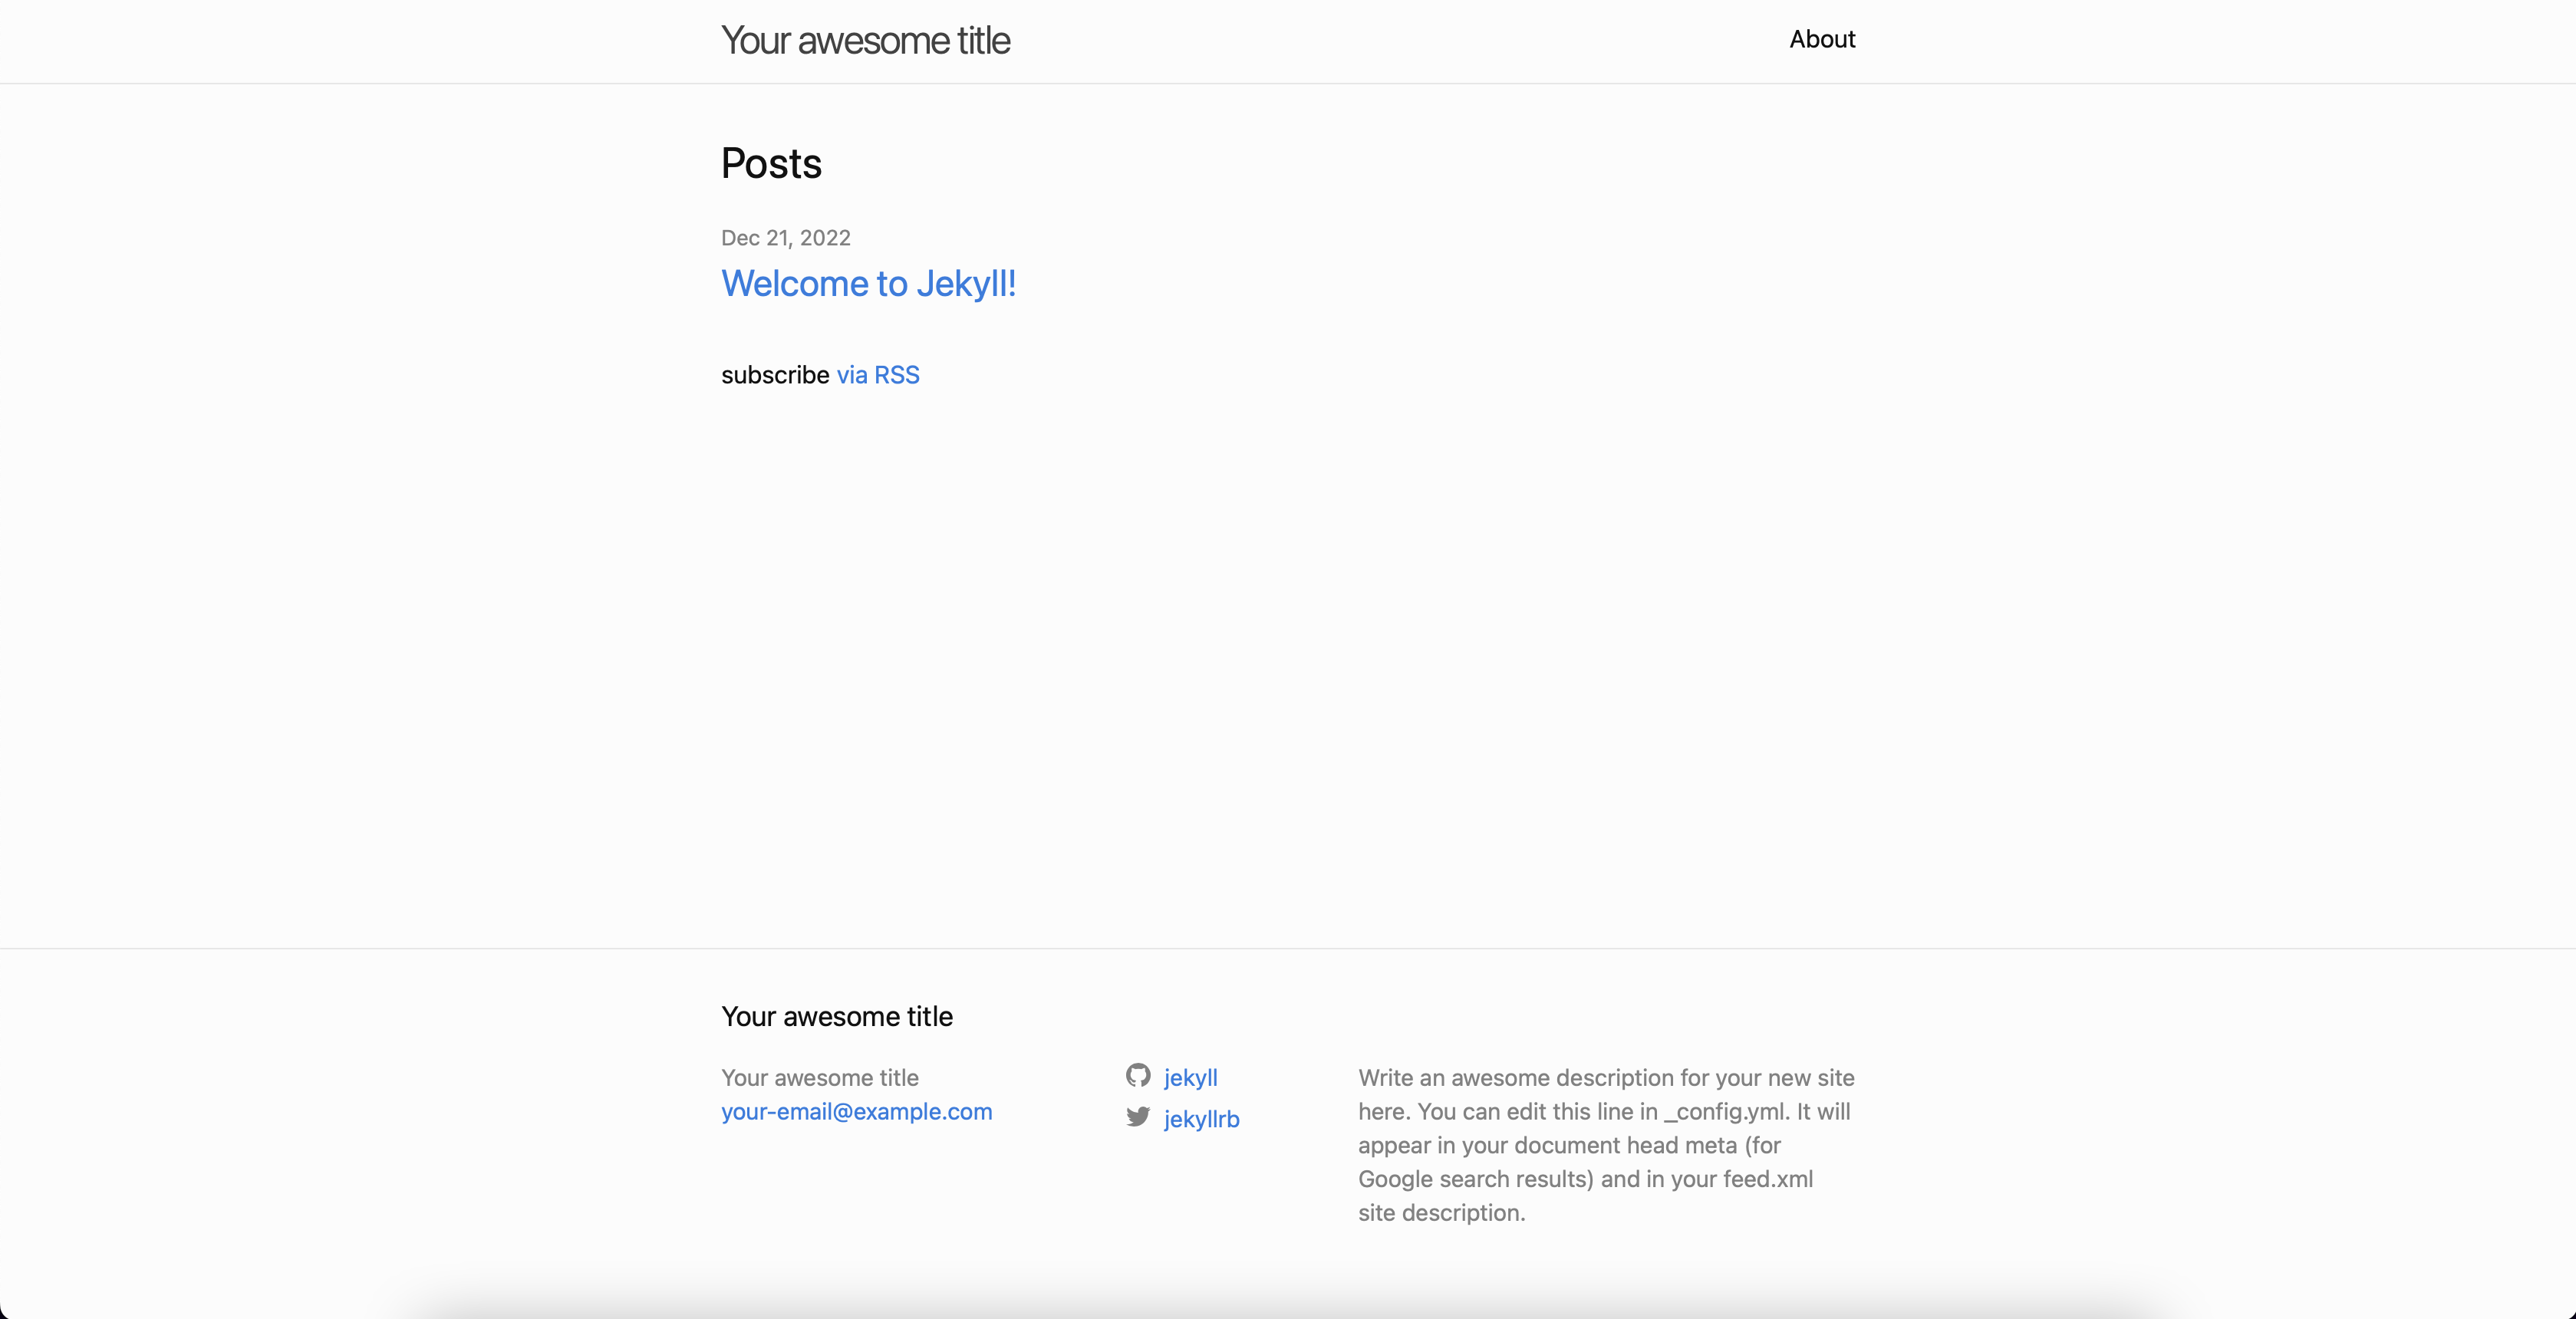
再打开浏览器输入http://localhost:4000看看效果:
10、修改 Gemfile 文件
注释掉 gem "jekyll" 开头的这一行,修改 # gem "github-pages" 开头的这一行:
mikecaptain@CVN % gem "github-pages", "~> GITHUB-PAGES-VERSION", group: :jekyll_plugins
其中的 GITHUB-PAGES-VERSION 改为具体的版本号,版本号参考https://pages.github.com/versions/ ,我写本文的时候 github-pages 最新版本号是 227。关闭 Gemfile 文件然后命令行运行如下命令:
mikecaptain@CVN % bundle install
再本地启动服务器测试:
mikecaptain@CVN % jekyll server
得到如下提示:
You have already activated i18n 1.12.0, but your Gemfile requires i18n 0.9.5.
Prepending `bundle exec` to your command may solve this. (Gem::LoadError)
参考https://github.com/Homebrew/brew.sh/issues/845这个 issue 后如下解决:
$ bundle add webrick
$ bundle exec jekyll serve
这里注意 jekyll server 和 bundle exec jekyll serve 两个的区别是前者基本本地 Jekyll 版本启动服务,后者基于目录下的 Gemfile 文件启动服务,所以我们要用后者。
11、配置 Github Pages
在 Github 的仓库页面进入「Settings - Code and Automation - Pages - Build and Deploy」,选择「Deploy from a branch」,然后选择你设定的分支。再选发布源的文件夹,这里我设置为根目录。然后「保存」。再修改 _config.yml 文件:
baseurl: ""
url: "http://your-username.github.io"
将本地代码push到 Github 仓库中,在浏览器访问your-username.github.io即可,有时候可能要等几分钟。
12、配置一个 Jekyll Theme
可以在 http://jekyllthemes.org/ 这个网站上找一下喜欢的 theme,下载后将如下文件都 copy 到你项目目录下:
_includes
_layouts
_sass
css
js
img
404.markdown
index.html
不同主题会有所不同,这里只列个大概。
13、设置自定义域名
添加四条 A 记录,记录值如下:
185.199.108.153
185.199.109.153
185.199.110.153
185.199.111.153
添加 CNAME,主机记录为www,记录值为your-username.github.io。然后在「Github 你的仓库里 - Settings - Pages - Custom Domain」填写你刚使用的域名,并把Enforce HTTPS打上勾。
一旦解析成功,Github 上会自动多一个 CNAME 文件。把你最新的代码都 push 到 Github 仓库上,稍等片刻就可以从你自己的域名访问 Github Pages 搭建的博客啦。
14、用 rouge 实现代码高亮
我们用支持 Markdown 内代码语法高亮的 Rouge 来实现,首先安装 Rouge:
gem install kramdom rouge
然后配置 _config.yml 文件:
markdown: kramdown
highlighter: rouge

kramdown:
  input: GFM
  syntax_highlighter: rouge
然后用 rouge 创建 syntax.css 文件:
$ rougify style github > css/syntax.css
在 _include/head.html 文件中添加:
<link rel="stylesheet" href="/css/syntax.css" />
15、一些扩展问题
Q1:我想在网站的首页的每一篇文章标题下,显示一个指定的摘要,而不是自动从文章内容开头截取的,应该如何实现呢?
在 Jekyll 中,你可以在每篇文章的 front matter 中设置摘要字段。例如,你可以在文章的 front matter 中添加一个 excerpt 字段,然后在该字段中填入你想要在首页显示的摘要内容。
---
title: 这是一篇文章
excerpt: 这是文章的摘要
---

这是文章的正文内容
然后,在你的首页模板中,你可以使用``输出文章的摘要。例如:
<ul>
  {% for post in paginator.posts %}
    <li>
      <h2><a href="{{ post.url }}">{{ post.title }}</a></h2>
      <p>{{ post.excerpt }}</p>
    </li>
  {% endfor %}
</ul>
这样,在首页显示文章列表时,每篇文章就会带上它的摘要内容。
注意,如果文章的 excerpt 字段没有设置,那么在首页显示时就不会有摘要内容。因此,建议在发布新文章时务必检查 excerpt 字段是否已经设置。
Q2:如何支持对每一个分类都可以显示一个该分类下的所有文章的页面?
有很多种办法,但是这里我讲一个比较简单且容易维护的方法,不过也有其弊端。首先在_layouts目录下创建一个category.html文件:
---
layout: default
---

<div class="container">
  <br>
    {% if site.categories[page.category] %}
      {% for post in site.categories[page.category] %}
        <a href="{% if site.baseurl == "/" %}{{ post.url }}{% else %}{{ post.url | prepend: site.baseurl }}{% endif %}">
            {%if post.header %}{{ post.header }}{% else %}{{ post.title }}{% endif %}
        </a>
      {% endfor %}
    {% else %}
      <br>
      <p>No posts for this category. If you have something in mind, check <a href="/write">Write For Us</a>page.</p>
    {% endif %}
</div>
这样就有了一个可以显示某个 category 下的所有 posts 的布局文件了。然后修改_config.yml文件:
include: ['_categories']
在根目录创建一个categories目录,并在里面对每个 category 分别创建一个 html 文件,文件名即 category 的名字。但这个文件特别的简单,就是只需要写一个头部,例如我的「AI」分类的ai.html如下:
---
layout: category
title: 人工智能
description: This is the description.
permalink: /category/ai
category: ai
category_type: tech
---
那么之后每次创建文件时,在头部写category一定要与这些categories中的html文件对应起来。
Q3:如何为每篇文章添加一个目录
这个是 Markdown 可以解决的,并不涉及 Jekyll,对于 Jekyll 的 Markdown 引擎可以用如下极其简单的方式实现:
* TOC
{:toc}
Q4:如何在 Jekyll 中支持 KaTeX
Katex 是一个开源的 JavaScript 库,能够在浏览器端快速渲染 LaTeX 格式的数学公式。
在 GitHub.io 上
先修改 _config.yml:
kramdown:
  math_engine: katex
然后修改 _includes/head.html 文件,在 <head> 与 </head> 中间:
<!--KaTeX-->
  <link rel="stylesheet"
        href="https://cdn.jsdelivr.net/npm/katex@0.12.0/dist/katex.min.css"
        integrity="sha384-AfEj0r4/OFrOo5t7NnNe46zW/tFgW6x/bCJG8FqQCEo3+Aro6EYUG4+cU+KJWu/X"
        crossorigin="anonymous">
  <script defer
        src="https://cdn.jsdelivr.net/npm/katex@0.12.0/dist/katex.min.js"
        integrity="sha384-g7c+Jr9ZivxKLnZTDUhnkOnsh30B4H0rpLUpJ4jAIKs4fnJI+sEnkvrMWph2EDg4"
        crossorigin="anonymous"></script>
  <script defer
        src="https://cdn.jsdelivr.net/npm/katex@0.12.0/dist/contrib/auto-render.min.js"
        integrity="sha384-mll67QQFJfxn0IYznZYonOWZ644AWYC+Pt2cHqMaRhXVrursRwvLnLaebdGIlYNa"
        crossorigin="anonymous"></script>
  <script>
      document.addEventListener("DOMContentLoaded", function() {
          renderMathInElement(document.body, {
              // ...options...
          });
      });
  </script>
本问题参考:
如果不在 GitHub.io 上,则还需要额外工作
以上方式只适合于 GitHub.io 的网站,如果是自己搭建的网站用 Jekyll 则要自己安装,如下:
gem install kramdom-math-katex

gem install katex
gem install execjs

gem install therubyracer
gem install therubyrhino
gem install duktape
使用示例
以如下方式输入输入如下内容:
{% raw %}
$$ \sum_{i=1}^{n} a_i $$
{% endraw %}
就会得到一个数学公式:
\[\sum_{i=1}^{n} a_i\]Q5:Jekyll 中如何支持 Graphviz ?
本地 Jekyll 先运行起来 Graphviz
这要依赖 jekyll-graphviz,修改 Gemfile 增加一句:
group :jekyll_plugins do
  gem "jekyll-graphviz"
end
再修改 _config.yml 配置文件:
plugins:
  - jekyll-graphviz
再在本地安装 graphviz,可以通过 conda install graphviz 或者 brew install graphviz。然后 bundle install 再 bundle exec jekyll serve 在本地下一段看看效果:
{% graph some graph title %}
digraph G {
    a -> b
    b -> c
    c -> a
}
{% endgraph %}
如果看到如下效果,就说明你都配置成功了:
<div class="graphviz-wrapper">
<!-- Generated by graphviz version 2.43.0 (0)
-->
<!-- Title: G Pages: 1 -->
<svg role="img" aria-label="some graph title" width="89pt" height="188pt"
viewBox="0.00 0.00 89.00 188.00" >
<title>some graph title</title>
<desc>
digraph G {
a -> b
b -> c
c -> a
}
</desc>
<g id="graph0" class="graph" transform="scale(1 1) rotate(0) translate(4 184)">
<title>G</title>
<polygon fill="white" stroke="transparent" points="-4,4 -4,-184 85,-184 85,4 -4,4"/>
<!-- a -->
<g id="node1" class="node">
<title>a</title>
<ellipse fill="none" stroke="black" cx="54" cy="-162" rx="27" ry="18"/>
<text text-anchor="middle" x="54" y="-158.3" font-family="Times,serif" font-size="14.00">a</text>
</g>
<!-- b -->
<g id="node2" class="node">
<title>b</title>
<ellipse fill="none" stroke="black" cx="27" cy="-90" rx="27" ry="18"/>
<text text-anchor="middle" x="27" y="-86.3" font-family="Times,serif" font-size="14.00">b</text>
</g>
<!-- a->b -->
<g id="edge1" class="edge">
<title>a->b</title>
<path fill="none" stroke="black" d="M47.6,-144.41C44.49,-136.34 40.67,-126.43 37.17,-117.35"/>
<polygon fill="black" stroke="black" points="40.4,-116.03 33.54,-107.96 33.87,-118.55 40.4,-116.03"/>
</g>
<!-- c -->
<g id="node3" class="node">
<title>c</title>
<ellipse fill="none" stroke="black" cx="54" cy="-18" rx="27" ry="18"/>
<text text-anchor="middle" x="54" y="-14.3" font-family="Times,serif" font-size="14.00">c</text>
</g>
<!-- b->c -->
<g id="edge2" class="edge">
<title>b->c</title>
<path fill="none" stroke="black" d="M33.4,-72.41C36.51,-64.34 40.33,-54.43 43.83,-45.35"/>
<polygon fill="black" stroke="black" points="47.13,-46.55 47.46,-35.96 40.6,-44.03 47.13,-46.55"/>
</g>
<!-- c->a -->
<g id="edge3" class="edge">
<title>c->a</title>
<path fill="none" stroke="black" d="M57.65,-36.09C59.68,-46.43 61.98,-59.91 63,-72 64.34,-87.94 64.34,-92.06 63,-108 62.28,-116.5 60.93,-125.69 59.49,-133.99"/>
<polygon fill="black" stroke="black" points="56.03,-133.44 57.65,-143.91 62.91,-134.71 56.03,-133.44"/>
</g>
</g>
</svg>
</div>
Github Pages 上正常显示 Graphviz
因为 GitHub Pages 默认并不支持 Graphviz 插件,所以还需要如下处理:
- 在 Github 上创建一个分支,可以叫做 gh-pages
- 配置 Github Pages 的生成来自分支 gh-pages 并且选择目录为
/根目录 - 在本地项目中创建一个文件
.github/workflows/gh-pages.yml,内容如下:
name: Build and deploy Jekyll site to GitHub Pages
on:
  push:
    branches:
      - master

jobs:
  jekyll:
    runs-on: ubuntu-latest
    steps:
      - name: 📂 setup
        uses: actions/checkout@v2
      - name: Setup Graphviz
        uses: ts-graphviz/setup-graphviz@v1
      - name: 💎 setup ruby
        uses: ruby/setup-ruby@v1
        with:
          ruby-version: 3.0.2
      - name: 🔨 install dependencies & build site
        uses: limjh16/jekyll-action-ts@v2
        env:
          NODE_ENV: "production"
        with:
          enable_cache: true
      - name: 🚀 deploy
        uses: peaceiris/actions-gh-pages@v3
        with:
          github_token: $
          base_url: /
          publish_dir: ./_site
          publish_branch: gh-pages
          cname: www.mikecaptain.com
          enable_jekyll: true
如果你遇到了生成的网站中所有 URL 都带着 pages/username,那么这个问题修改 _config.yml 即可:
baseurl: "" # Change this to your relative path (ex: /blog/), or leave just a /
本问题参考:
Q6:如何显示 {% 或者 {{ ?
其实也是一个字符转义的问题,我们直接面对一个在 StackOverflow 上会被问的终极 Jekyll 中 Markdown 转义问题(与 Liquid Template Tags 冲突的问题),如何实现显示 {% raw %} 和 {% endraw %} 呢?方法如下:
{% raw %}{%{% endraw %} raw %}
{% raw %}{%{% endraw %} endraw %}
如上,就是用 {% raw %} 和 {% endraw %} 把 {% 包起来,但是 %} 不用包。应该讲的很清楚了吧。
Q7、Jekyll 编译速度太慢怎么办?
可以使用 bundle exec jekyll serve --incremental 仅针对有修改的增量部分进行编译,减少重复编译已经没有变更的文件。
参考
- OpenAI ChatGPT
- https://jekyllrb.com/docs/
- https://zhuanlan.zhihu.com/p/87225594
- Bundler IO
- Creating a GitHub Pages Site with Jekyll
- Configuring a Publishing Source for Your GitHub Pages Site
- https://github.com/dyutibarma/monochrome
- Managing a Custom Domain for Your Github Pages Site - Configuring a Subdomain
- Jekyll TOC Markdown